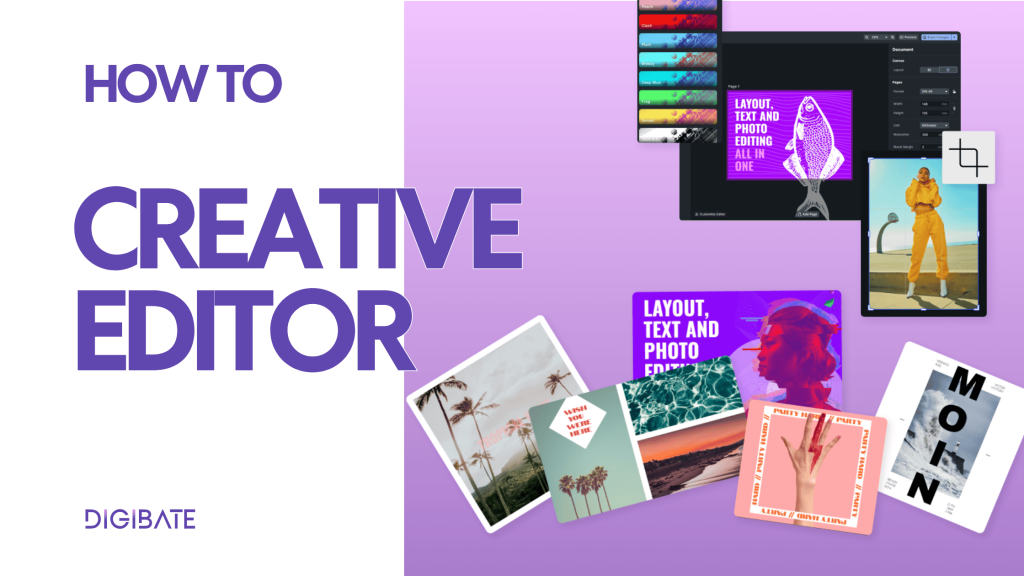
Digibate’s Creative Editor makes it easy to design, customize, and polish your marketing visuals — all without leaving the platform. Whether you’re creating social media posts, product promotions, or campaign assets, the editor gives your team full creative control while keeping your brand consistent.
🧭 Step 1: Open the Creative Editor
You can launch the Creative Editor from anywhere you work with visuals inside Digibate — for example:
- When generating product photoshoots
- While creating a social post, story, or campaign
- When customizing a pre-made template
Just open the “Creative Editor” on the dashboard to open the design workspace.
🧱 Step 2: Start from a Template or a Blank Canvas
Once the editor opens, you can choose between:
- Pre-designed Templates – Ideal for quickly customizing social media posts, ads, or branded content.
- Blank Canvas – Perfect if you want to design something completely from scratch.
Templates include pre-defined layouts, assets, and locked brand elements to ensure your designs always stay on-brand.
💡 You can also upload your own assets (like logos or icons) to use in your design.
✨ Step 3: Customize Your Design
The Creative Editor comes packed with powerful tools that are easy to use, even if you’re not a designer. You can:
- 📝 Edit Text – Change fonts, colors, alignment, or add effects to match your brand style.
- 🖼 Work with Images – Replace placeholders, adjust sizes, crop, apply filters, or remove backgrounds.
- 🌈 Use Overlays & Stickers – Access Digibate’s built-in asset library for icons, shapes, frames, and decorative elements.
- 🧭 Align & Group Elements – Use snapping, guides, and grouping tools to keep everything clean and structured.
- ✂️ Transform Elements – Scale, rotate, flip, and adjust any part of your design with precision.
✍️ Everything is fully drag-and-drop, so you can design as easily as moving pieces on a canvas.
🎨 Step 4: Apply Filters, Effects & Brand Elements
To make your visuals pop, you can apply:
- Filters and Effects for a consistent aesthetic
- Color adjustments like brightness, contrast, and saturation
- Blend modes to combine layers creatively
- Locked brand layers, ensuring logos or core design elements remain consistent across teams
This ensures your final assets are visually striking while staying on-brand.
📚 Step 5: Use Your Asset Library
Digibate gives your team access to:
- Shared brand assets like logos, fonts, and icons
- A curated library of stickers, overlays, and shapes
- Custom uploaded graphics for specific campaigns
This centralized asset library helps teams maintain design consistency without hunting for files.
📎 Step 6: Save, Export, or Publish
When your design is ready, you have several options:
- Save your work in Digibate to revisit or reuse later
- Download the image in high quality (PNG, JPEG, or PDF)
- Publish directly to your connected social media accounts
- Schedule the design as part of your content calendar
🚀 This streamlines your workflow — no need for extra tools or exporting to third-party software.
🌟 Pro Tips for Teams
- 🧩 Start from templates to speed up production and keep campaigns consistent
- 🧠 Lock key brand elements to avoid accidental edits when multiple team members work on the same template
- ✍️ Save designs as templates to reuse successful layouts for future campaigns
- ⚡ Keep your asset library organized for faster editing
- 🧪 Experiment with effects and filters to develop a unique visual style
🛠 Why Teams Love Digibate’s Creative Editor
- Everything happens in one place — no switching between design tools and content planning
- Non-designers can create professional visuals easily
- Templates and brand locking keep your marketing materials consistent
- Collaboration is seamless across campaigns and channels